Introduction
We’ve all been there. Let’s face it. You’re scrolling through your social media feed, and you see them: nails that are impossibly glossy and picture-perfect with intricate designs. You wish you could have a manicure that looks that good, but then reality sets in.
A trip to the nail salon means booking an appointment, spending an hour or more in a chair, and dropping a significant amount of cash–only to do it all over again in several weeks.
It feels like an enormous drag on your time and money. But what if I told you there was a way to get that same flawless, salon-quality look in mere minutes? From the comfort of your own home? And at only a fraction of the cost?
That is the amazing world of press-on nails! Plastic nails that might have been flimsy memories from your youth are distant history. They are now a fashionable and durable shortcut for those who seek beauty without any fuss whatsoever.
In this comprehensive guide, I will spill the beans on all the insider tips and tricks so that you too can be a press-on nail expert. From selecting the right set to applying them so that they last for weeks, this is your ultimate resource.
What on Earth Are Press-On Nails?
Press-on nails can be considered a kind of ready-to-wear for your fingertips. They are hand-crafted artificial nails, shaped and decorated to perfection as they are installed by professionals–ready for you to just put them on at home when you use the special adhesive.
Quality for these nails has gone through the roof in recent years. Most modern press ons are made of flexible materials like acrylic resin and soft gel that are tough enough to take a beating while looking real chic as well. In other words, they’re very close to a professional salon manicure in both appearance and feel.
The great thing about DIY nails is that the variety available as you give yourself a set of press-ons is just endless. But take heart – there’s guaranteed to be something for you among this vast selection.
Shapes: Are you a fan of the classic, elegant look? Square nails are perfect. Or maybe you like the treny taper coffin and almond shapes? Press-on gives you the chance to try different shapes like stiletto, oval or round without having to worry about shaping your natural nails.
Lengths: If you like short, round practical nails for everyday wear or long, dramatic claws for a special occasion, then there is a press-on set that’s perfect for you.
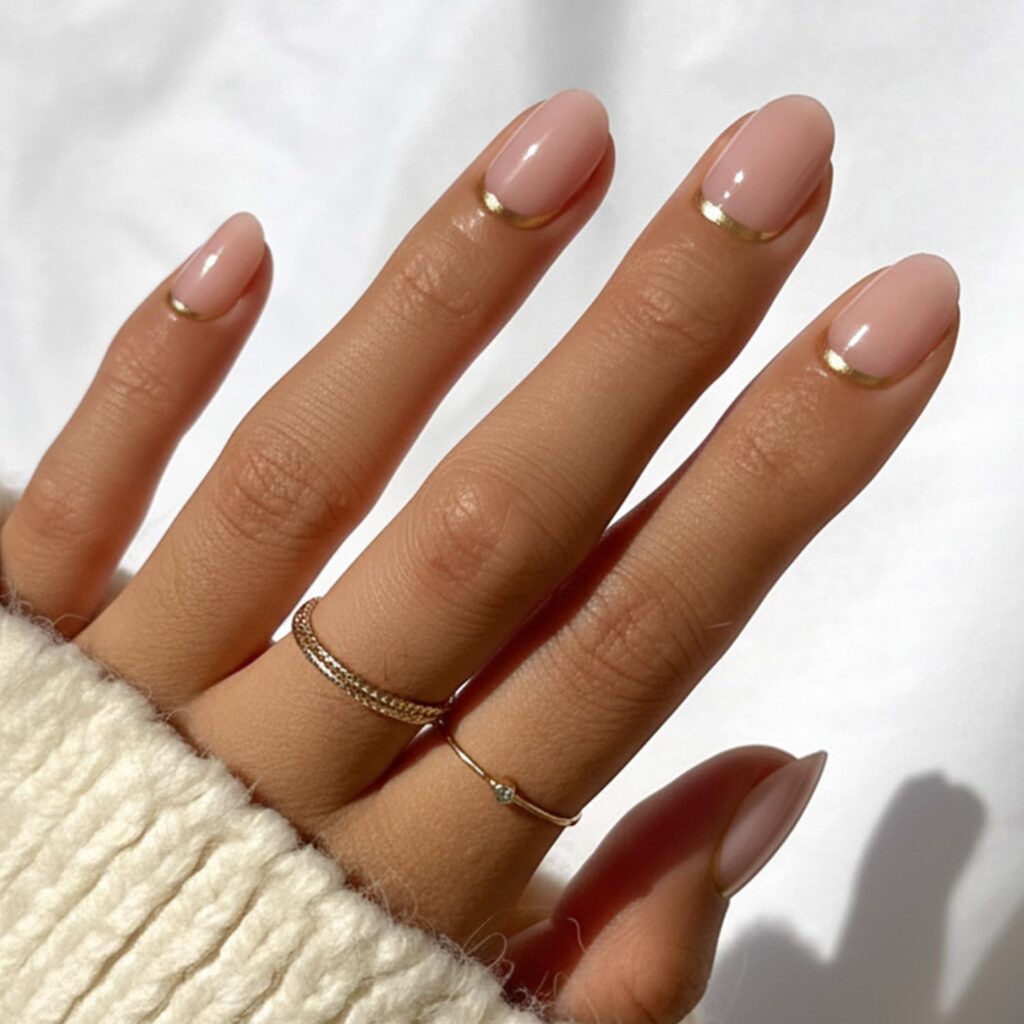
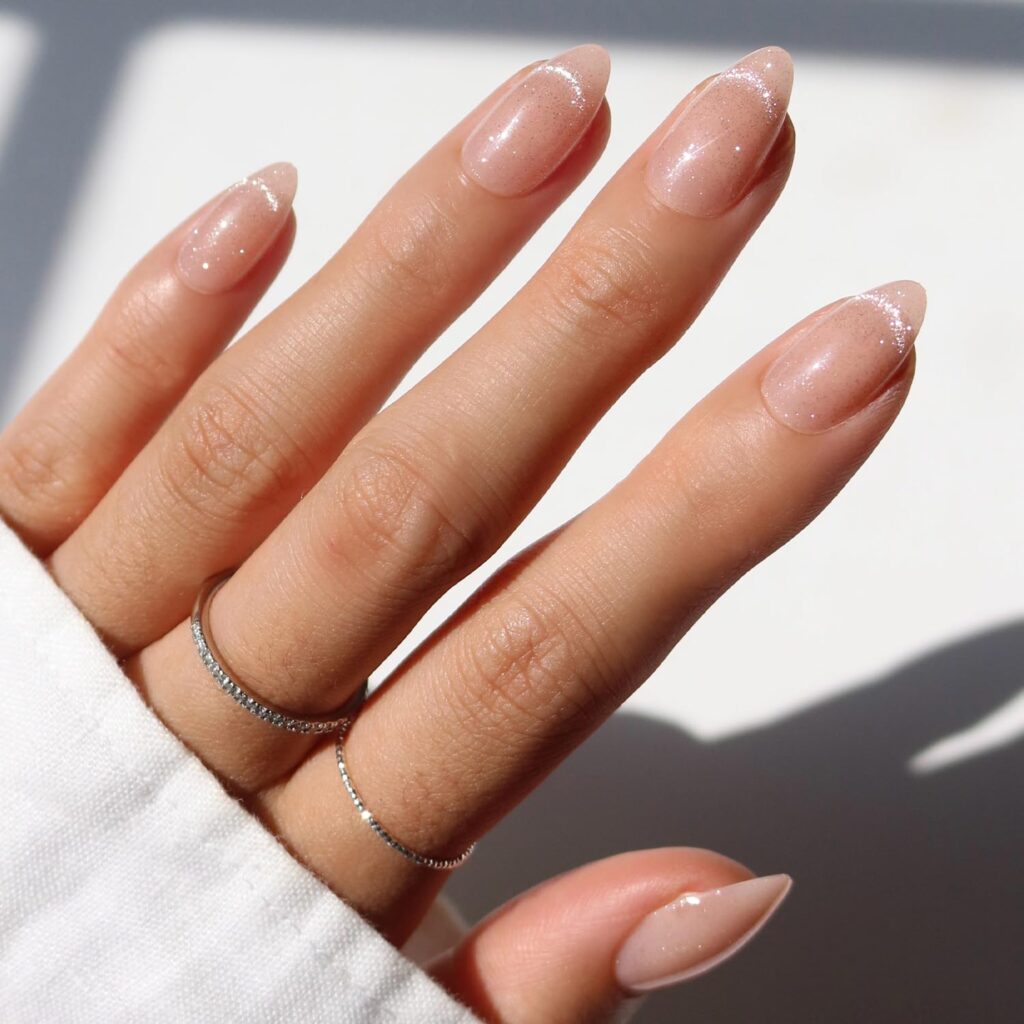
Designs: This is where things get interesting. You can find single-color nails in every imaginable hue; from subtle neutrals to bright neons. But you can also get multi-color designs that would cost a packet and take hours to do at a salon. Such as perfect French manicures; gorgeous ombre gradients; enchanting chrome effects and even nails that are covered with tiny jewels and hand-painted art!
One type of nail kits uses adhesive tabs and another nail glue。Adhesive tabs are sticky and shape like tape, but doubled on each side。They are perfect for short-term wear, such as weddings or getaway trips to the Bahamas.
Nail adhesive, such as nail glue, differs greatly from strength to duration of wear. With adhesives such as this one you need more than a simple layer of top coat-it’ll keep your nails on for one to two weeks straight!
The Amazing Advantages of Press-Ons
So what aspects of press-on nails particularly appeal to the beauty world? Let’s take a look…
Benefit 1: Money Saver A single trip to the nail salon for a full set of acrylic or gel nails could easily set you back between $50 and $100-not including later fills every two to three weeks. By comparison, a good-quality premade set of press-on nails is usually anywhere from ten to twenty-five dollars. Plus, if you take good care of them, many sets are reusable! That means a single purchase can provide you with many manicures. The savings really add up fast.
Glamnetic x GLAMZILLA Press On Nails
Benefit 2: Your Time Is Made Yours Again A full salon manicure takes anywhere from one hour to two hours of your valuable, scarce time. With press-on nails, it’s possible to achieve a full, lovely set in about 10 to 15 minutes. There’s no need to make an appointment: all you have to do is apply them while you watch your favorite TV show. No other beauty trick provides such a huge advantage for women who are constantly under pressure.
Press-on Nails Are Healthier for Your Nails Than Other Kinds of Salon Treatment
Salon treatments such as acrylics or hard gels are incredibly hard on the natural nail. Spreading plastic over the surface and then forcing it into shape by chemical reaction breeds impermeable nails. As the powder or liquid hardens, though, it can force your Cuticle back slightly…which suffocates water inside most parts like a watertight cupboard.
The filing process often drags the surface of your natural nail, which can leave nails thin and fragile in time. The removal process is equally bad. Per press-on nails, practiced correctly, are kinder. Because they lie against themselves rather than against your natural nail plate and don’t require the application of harsh chemicals like any other kind–in short, it is possible for you to maintain healthy nails under a set of these.
You Can Change Your Style Instantly with Press-on Nails
Do you want a glittery, dramatic look for your Friday night party but need limited and classic nails on Monday? With press-on nails you can change your style as often as you like your clothes. Match them to a special outfit, wear special patterns for a holiday celebration, or experiment with a new trend just for fun. It’s like having an entire wardrobe of manicures at your disposal.
How to Apply Press-on Nails Like a Professional: A Step-by-step Guide
If you want your press-on nails to look like they were done by a professional and last as long as possible, then it’s all in the preparation. Don’t be tempted to cut corners! Taking a few extra minutes to prepare your natural nails will make all the difference.
Step 1: Prepare Your Natural NailsBegin with clean dry hands, gently push cuticles back with a wooden cuticle stick, removing any dirt, old nail polish, which may linger along nail edges or beneath them. This will create a good clean surface for press-ons to adhere, and instantly make your manicure look neater. Have any little dings filed off and if your nails have any length, it’s best to trim them short to ensure your tip fits properly.
Now for the most important prep step: Buff tops of nails lightly once each with a soft fine-grit nail file or buffer. Thoroughly dull things up, don’t try to be too aggressive. If you buff too much, it damages the nail and makes it hard for your press-on to stick. This creates a slightly roughened surface so that the adhesive will have something to grip onto, greatly extends wear time of your pad.
Finally, wipe off each nail with an alcohol prep pad (most press-on kits will have one). This step is crucial because it removes any natural oils or dust from your nails. Oil is the enemy of any nail adhesive, so making sure your nails are in fact totally oil-free is important.
Step 2: Find the Perfect Fit Before you open the glue, you’ll want to size your nails. Go through the press-on kit and select the right size for each of your ten fingers. Ideally, the perfect press-on should fit comfortably from one side of your nail to the other without ever overlapping on skin with fingers. This will lead to an unnatural appearance and more likely to lift.
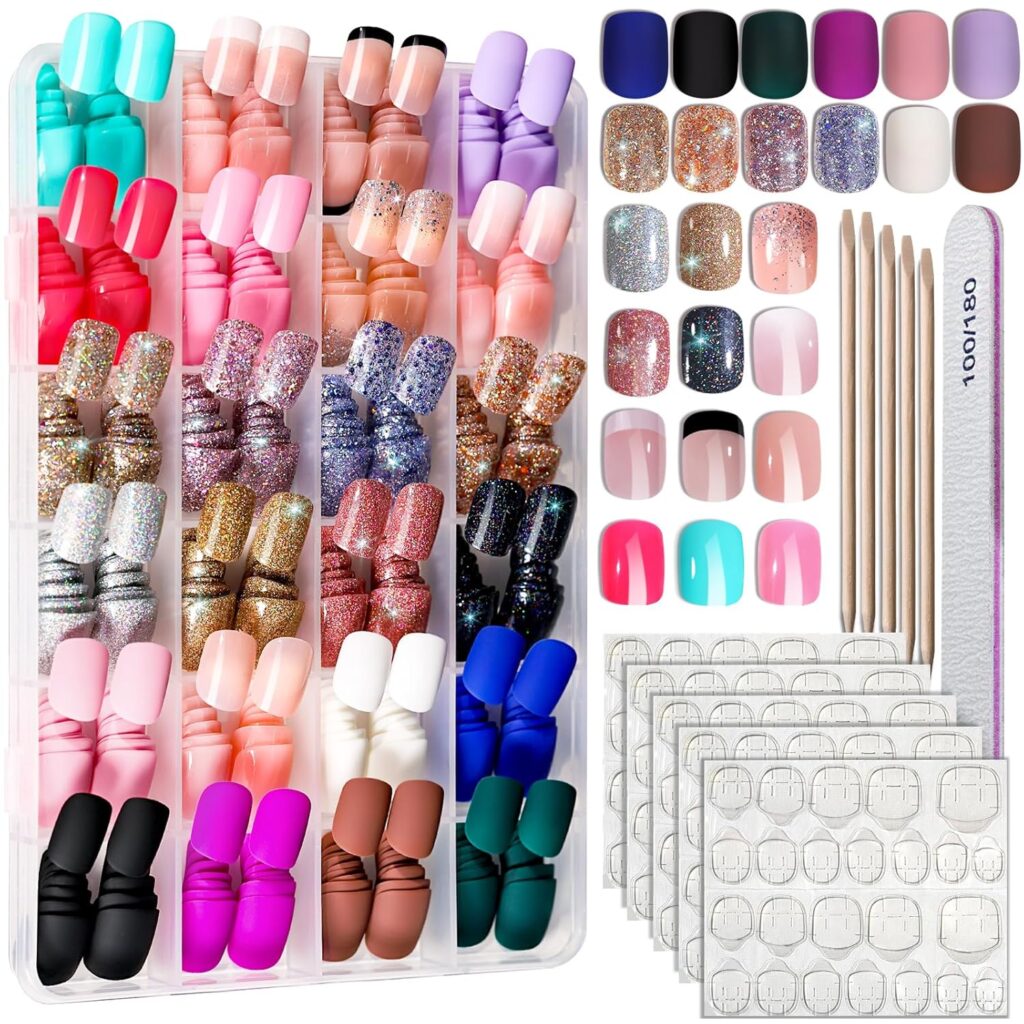
FANDAMEI Press on Nails, 24 Colors 576PCS Press on Nails
If a nail does not perfectly fill in the whole space allotted for it by the natural nail, then it’s no good. Nail techs who can spot this kind of problem do that kind of thing all the time. If you’re between two sizes, it’s always better to take the slightly smaller one. Lay out ten nails in order so they are ready for quick installation with your finger on top and your thumb underneath.
The key is to have all the necessary materials within easy reach. You will need the false nail, adhesive/glue, little scissors and a fine nail file.
If your nails are short, first click off any protruding finger skin on your nails. Then take a fine nail file and file any edges so that they do not catch in the hair fibres of your wig.
If you started with #1, then go to #2.
Different shapes of false nails help you to achieve the appearance you wish. You can change the shape and color to suit your mood at any time.
Step 3: Use the Adhesive. If you only plan to wear them for a short time, select the tab that most closely fits your nail and press it firmly onto your natural nail. Then peel off the top protective film.
For longer wear with nail glue, first put a small dot of glue onto your natural nail, another small dot of glue in the area of the false nail that will cover your nail bed only, and finally lightly press down.
Avoid using too much! One common mistake is to flood the false nail with glue, and the glue then seeps out around the sides–to create a mess. All you need for a strong bond is a couple of small drops. If you use much more, it’s not only wasteful but very likely that your nails will come off when they shouldn’t.
Step 4: Stick It On! To install the nails most easily. Start with your pinky fingers and work your way in, saving your thumbs for last. Pick up the false nail by the uncovered tip and hold it at a 45 degree angle above your nail. Slowly lower it to the other side of your natural nail. Press down firmly on the middle, then the sides. Keep it in place for 20 to 30 seconds. This pressure insures that the glue spreads evenly and that no air bubbles get trapped beneath it.
Step 5: Aftercare is Key. After all the nails are in place, the first rule is do not get your hands wet again for a “good” hour. This gives the glue time to set fully and make a stronger bond. Be a little more careful with your new nails for the rest of the day. Do not use them to open soda cans or to rummage through drawers!
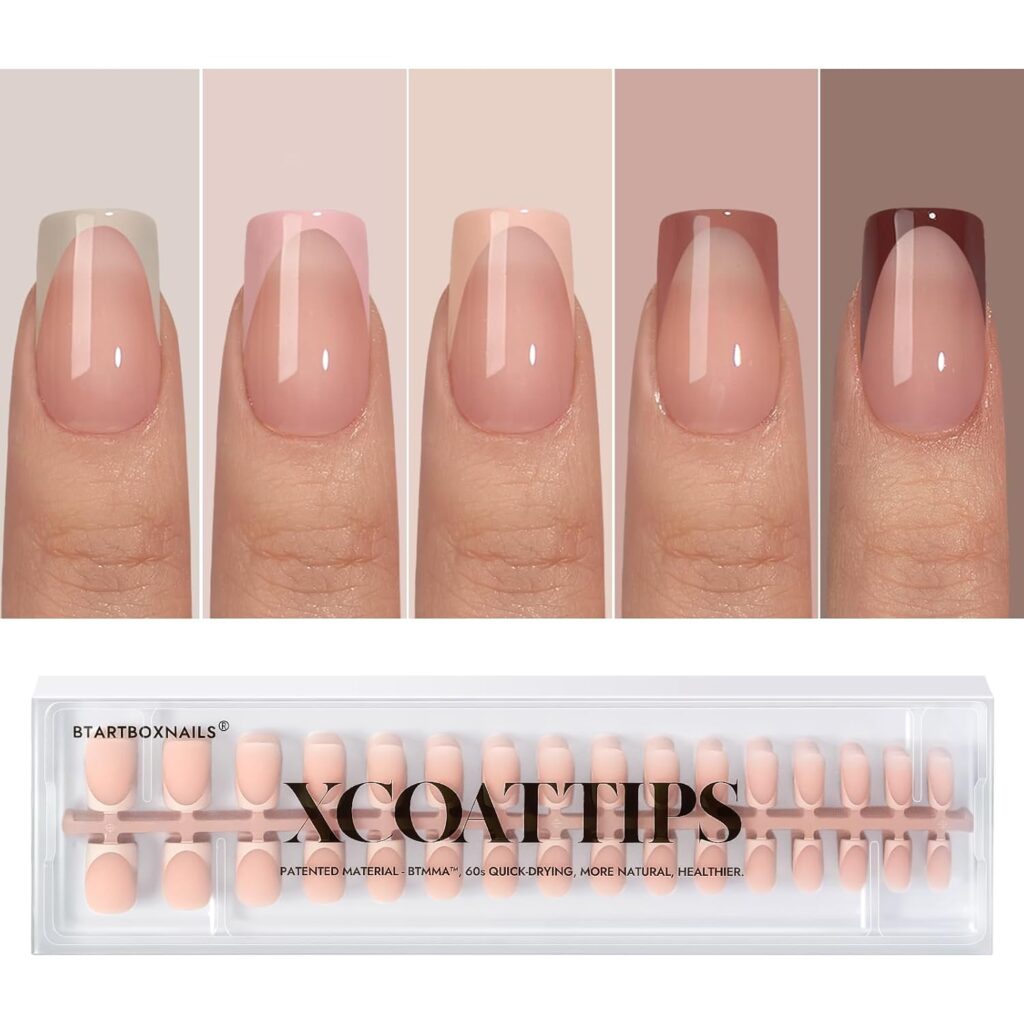
BTArtboxnails XCOATTIPS French Tip Press on Nails – Fall Fake Nail Short Square Nail Tips
How to prolonging the life of your press-on manicure
Do you want to know spend as much time as possible with your gorgeously super nails looking perfect? There are several tips from experts:
Preparation is Key: This really cannot be over-emphasised. A clean, oil-free and lightly buffed nail surface is the foundation of a long-lasting manicure.
Gloves: Whether you’re washing dishes or using household cleaners, don’t forget to put on rubber gloves. Prolonged exposure to hot water and detergents can soften the nail glue.
Glue on the Go: Don’t be caught without a small bottle of nail glue! If a nail suddenly falls off, you should always be prepared.
Adjust with a File: It’s no problem to gently file the shape of the press-on nails in order to make them better fit your natural nail shape or achieve the desired length. After a “self-tailoring,” the custom fit is more comfortable and looks better.
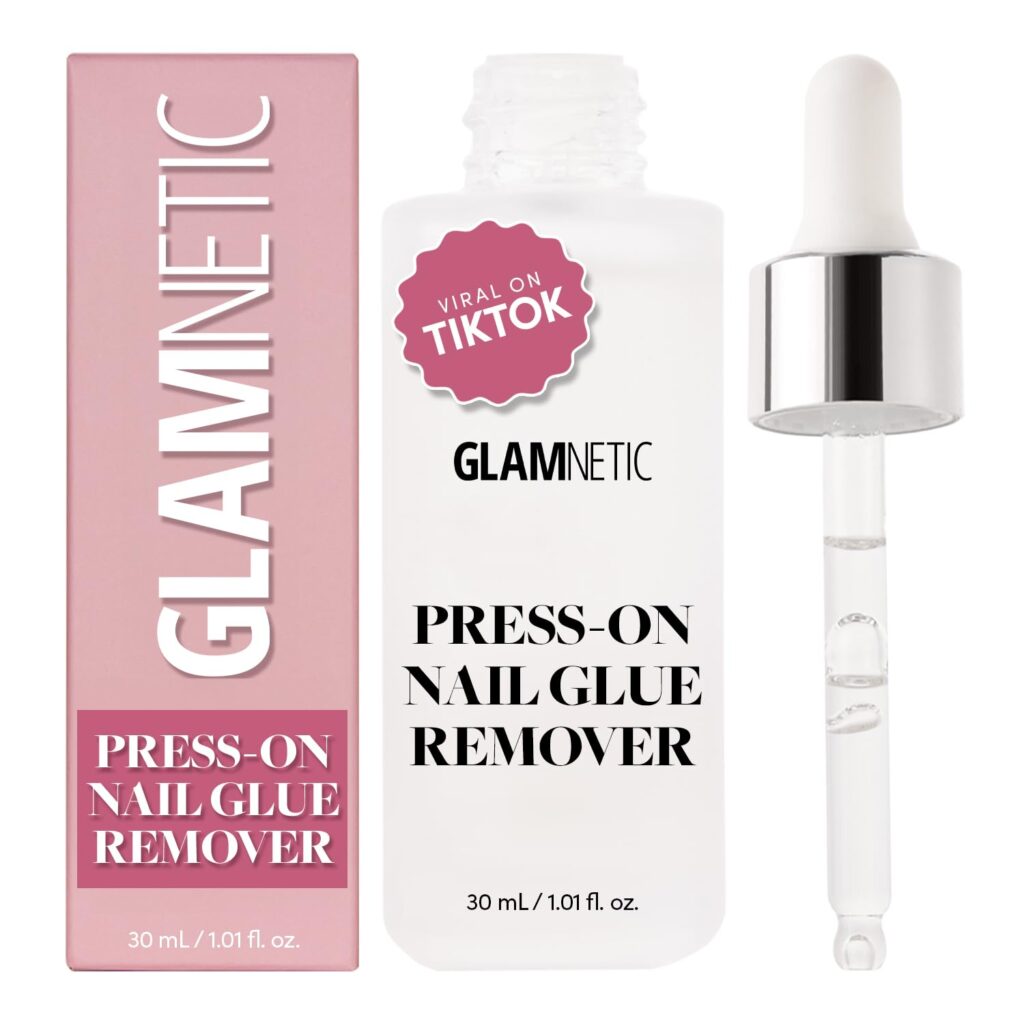
Harmless press-on nail removal
When it’s time for a complete set, proper removal is mandatory. Never, never pull or tear off your press-on nails! The top layers of your natural nail will come off along with the fake nails, and then your real nails become thin, brittle, and full of dents.
Here’s how to remove your fake nails easily and safely instead:
Fill a bowl with soapy warm water. Add a few drops of cuticle oil or olive oil into the water if you would like an extra physical shock that will help loosen things further.
Soak your fingers in the bowl for about 10-15 minutes. The warm, oily water will help soften and dissolve glue.
Gently wiggle each press-on nail after soaking. The bond should start to loosen as a result.
Using the flat end of a wooden cuticle stick, gently lift the edge of the press-on nail away from your natural nail at an angle. If it comes off easily then that’s all fine! However, should you meet any resistance, do not force it. Simply soak your nails for a further 5-10 minutes and try again.
After the nails are gone, there might be a little sticky glue residue remaining on your natural nails. Such material can easily be removed by the use of a nail buffer, which will gently rub it off until it’s gone.
There you have it! Press-on nails is a beauty innovation that offers a convenient, affordable, and stylish alternative to traditional salon manicures. For example, why not take that bold design which you’ve long been fancying out on your new nails? With press-on nails, you’re always only a few minutes away from the perfect manicure.
Conclusion
So the next time you see a beautiful set of nails and wish you had enough time or money to go to a salon, keep in mind that now a perfect manicure can be your own. It’s no longer just childhood nostalgia, but today’s press-on nails really are a game changer for the world of beauty. Instant style alterations, a 15-minute bricolage, and peace of mind gained from pursuing more affordable habits in beauty. The power to achieve a salon-perfect, long-lasting manicure is literally now at your fingertips–no appointment needed. By mastering a few measures of prep work and how to put them on, you can make press-ons look just like your own nails. So go ahead and shop the infinite channels of creativity. Try that bold, glittering style you’ve been admiring or choose a chic, classical number for next grande event.
With press-on nails, you are always just minutes away from a perfect manicure that will boost your confidence easily.